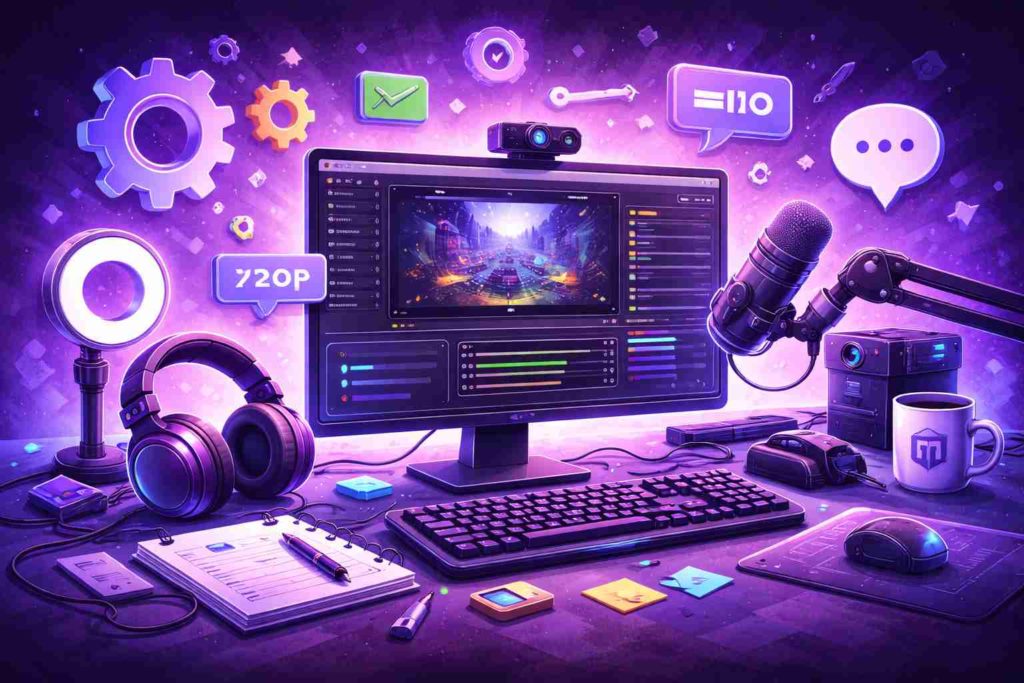
Almost every beginner starts with the same thought: first, everything needs to be set up “like professional streamers,” and only then it’s time to go live. A long checklist appears — OBS settings, bitrate, scenes, microphone, lighting, overlays, chat bots, donations, panels. It feels like without all of this, the stream will look weak and no one will stay.
As a result, the launch gets delayed. Setup takes longer and longer. The streamer prepares as if an audience is already waiting — while in reality, the first streams usually happen with little to no viewers.
And this is the key point: at the beginning, Twitch setup is not about perfection — it’s about stability. Everything else is secondary.
Why Trying to “Make It Look Perfect” Slows You Down
The desire to look professional is understandable. But the problem is that beginners don’t yet know what actually matters and what is just a visual layer. As a result, attention goes into details that don’t affect early growth.
Someone can spend hours choosing panel fonts but forget to check audio. Build complex scenes but never test stream stability. Add animations that only overload the broadcast.
And the paradox is that early viewers don’t judge “how it looks.” They judge whether it’s watchable.
If the stream doesn’t lag and the voice is clear — that’s already enough for it to feel normal.
Why Stability Matters More Than Quality
On your first streams, it’s not about how it looks — it’s about how it works. If the stream freezes, audio is out of sync, or the video breaks, viewers won’t analyze the reasons. They’ll just leave.
At the same time, small quality flaws are acceptable. Slightly lower video quality, basic lighting, a simple microphone — none of this is a problem if everything runs smoothly.
That’s why setup should start with stable settings, not maximum ones.
It’s better to slightly reduce quality and get a stable stream than push everything to the limit and deal with drops.
How to Choose Basic Settings Without Overcomplicating
At the beginning, you don’t need to dive into dozens of parameters. There are a few things that truly affect your stream:
- resolution
- bitrate
- frame rate
- audio source
It’s better to use 720p or 900p if you’re not confident in your system. This reduces load and lowers the risk of lag.
Your bitrate should match your internet speed. A common mistake is setting it too high “just in case,” which leads to stuttering.
30 FPS is more than enough at the start. 60 FPS adds extra load that isn’t always necessary.
And the most important part — audio. It should be clean and without echo. Even a basic microphone can sound good if levels are set correctly and background noise is reduced.
Why a Test Stream Matters More Than Any Guide
No settings truly work until you test them in a real broadcast. Everything may look fine in your software, but once you go live, delays, desync, or quality drops can appear.
That’s why before your first “real” stream, you should run a test. Go live, watch the recording, open it from another device.
This shows how your stream looks from the viewer’s perspective — not the streamer’s.
And this is where real issues appear — the ones you can’t predict beforehand.
Why Your Scenes Should Stay Simple
Beginners often create multiple scenes: starting soon, gameplay, chatting, break, ending. It seems logical, but in practice, it complicates control.
For your first streams, one or two scenes are enough. A main scene and maybe a waiting screen.
The simpler the switching, the lower the chance of confusion during the stream.
Because during the broadcast, your focus should be on interaction — not on managing the interface.
Why Chat and Alerts Aren’t Essential at the Start
There’s a feeling that a stream without alerts isn’t “real.” But in the early stages, when there are few viewers, these elements don’t play a major role.
Moreover, extra widgets can distract and overload the screen.
You can keep chat open separately. Alerts can be added later, once activity appears.
At first, it’s more important to learn how to maintain the stream — not to manage events.
Why Setup Is a Process, Not a One-Time Step
Many people treat setup as a one-time task: “do it once and it’s done.” But in reality, it evolves with your channel.
As viewers appear, behavior changes. As your equipment improves, you can increase quality. As you gain experience, you may want to expand your format.
And that’s completely normal.
Trying to set everything up “for the future” from the start only overloads you.
It’s far more effective to begin with a stable basic configuration and gradually improve it.
What It Really Means to Set Up Twitch for Your First Streams
It’s not about creating a perfect visual.
Not about copying someone else’s setup.
Not about covering every possible setting.
It’s about creating conditions where your stream runs smoothly, your audio is clear, your video is stable, and you’re not distracted by technical issues.
Once that is in place, everything else can be improved over time.
And that’s how you build not just a configured stream — but a working channel.